
In this blog post, I'll share how I integrated the Model Context Protocol (MCP) into a real SaaS product, VocalCat, by reusing an existing API. This guide will highlight the interesting bits, challenges, and tips I discovered along the way. Buckle up!
Why MCP?
MCP is an open standard that simplifies connecting AI models to external tools and data systems. In plain terms, MCP is a way to give "hands" to copilots—a protocol that lets AI models not just answer questions, but actually take actions, even in the real world. Imagine connecting your copilot to your IoT devices, so it can control things in your home or office. It's a bit dangerous, but incredibly exciting: suddenly, copilots can do more than just talk—they can act.
For VocalCat, integrating MCP meant enabling seamless interaction between APIs designed to control and create content for social media. A simple example of how MCP can help is when I'm coding and want to share small pieces of advice or tricks. Often, I get so focused on coding that I forget to document or share these insights. With MCP, I could automate this process—perhaps by creating a tool that captures my thoughts as I code and formats them into a blog post draft.
In fact, this very blog post is a good example of how MCP can streamline workflows.
Reusing an Existing API
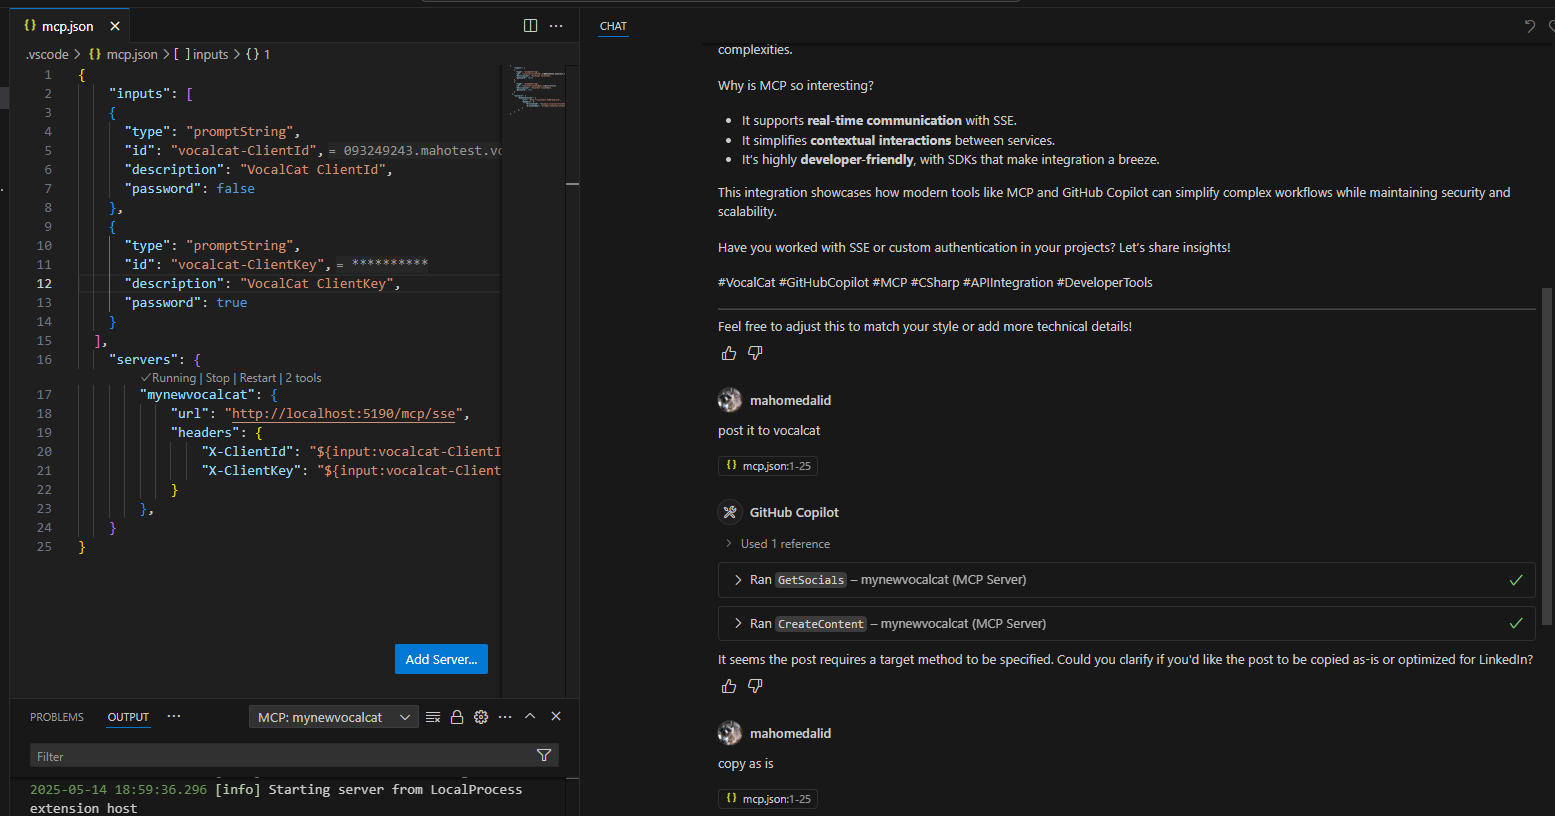
One of the most exciting aspects of this integration was reusing the existing ApiController API, which was built using ASP.NET Core. This API was meant to use in the traditional way, for our partner MeetNearMe. Instead of creating a new API from scratch, I added MCP annotations to the existing endpoints. This approach saved time and ensured consistency across the platform.
Here's an example of how I annotated an existing endpoint:
[McpServerTool, Description("Get social accounts for the user from VocalCat")]
[HttpGet("socials")]
public async Task<IActionResult> GetSocials()
{
    if (userId == null)
    {
        // Handle missing user ID
    }
    // Existing logic...
}
By adding the [McpServerTool] attribute, the endpoint became MCP-compatible without requiring significant changes to its core functionality. This approach contrasts with many MCP examples, which often involve creating new classes solely for MCP integration. It's worth noting that this codebase, running on a single Azure Web App, efficiently handles the frontend and backend (Blazor), API, and now MCP, all within a unified architecture.
Handling Authentication with MCP
Authentication was a critical part of the integration. In MCP, sessions are long-lived, especially in Server-Sent Events (SSE) scenarios. This required a different approach to handling HttpContext.
Instead of using the HttpContext available in ControllerBase, I injected it via Dependency Injection (DI). This ensured that the HttpContext was consistent across the entire session.
Here's how I implemented it:
private readonly IHttpContextAccessor _httpContextAccessor;

public MeetAuthController(IConfiguration configuration, IDbService dbService, IBlobService blobService, CreateContentService createContentService, IHttpContextAccessor httpContextAccessor)
{
    _configuration = configuration;
    _dbService = dbService;
    _blobService = blobService;
    _createContentService = createContentService;
    _httpContextAccessor = httpContextAccessor;
}

private async Task<string?> ValidateAndRetrieveUserId()
{
    var accessCode = _httpContextAccessor.HttpContext?.Request.Headers["X-AccessCode"];

    // Validation logic...
}
This approach ensured that the authentication logic was robust and compatible with MCP's requirements.
Integrating APIs and MCP in a Blazor App
One of the unique aspects of this Blazor app is how it seamlessly integrates APIs and MCP. The Program.cs file demonstrates how the app maps different functionalities, including traditional APIs and MCP endpoints.
Mapping APIs
The app uses MapGroup to organize API endpoints under a common route. For example, all API endpoints are grouped under /api:
app.MapGroup("/api").MapControllers();
This approach keeps the API routes clean and organized, making it easier to manage and scale.
Mapping MCP
In addition to traditional APIs, the app integrates MCP using the MapMcp method. This maps all MCP-related endpoints under the /mcp route:
app.MapMcp("mcp");
By combining these two approaches, the app supports both standard API interactions and advanced MCP functionalities.
This dual mapping strategy highlights the flexibility of the app. It allows developers to leverage the strengths of both traditional APIs and MCP, enabling seamless integration with external tools and AI-powered systems.
Tips and Tricks
1. Leverage Existing Tools
If you're integrating MCP into an existing project, look for opportunities to reuse existing APIs and services. Adding MCP annotations is often enough to make your endpoints compatible and avoid duplicating code.
2. Understand SSE
Server-Sent Events (SSE) play a crucial role in MCP. Unlike traditional HTTP requests, SSE sessions are persistent and require careful resource management, particularly with HttpContext. Injecting HttpContext via Dependency Injection (DI) ensures consistency and avoids potential issues during long-lived sessions.
MCP primarily operates through two endpoints: /message and /sse. The /message endpoint handles messages sent by the MCP server, while the /sse endpoint receives messages from the copilot.
3. Debugging MCP
Debugging MCP integrations can be tricky. Enable detailed logging in your application to capture MCP-specific errors.
4. Secure Your Endpoints
MCP endpoints often expose sensitive data. Use authentication and authorization mechanisms to ensure that only authorized users can access your APIs.
Conclusion
Integrating MCP into VocalCat was a rewarding experience. By reusing existing APIs and adopting best practices, I was able to bring MCP closer to production with minimal effort. If you're considering MCP for your project, I hope this guide provides valuable insights and inspiration.
Have questions or want to share your own MCP integration story? Let me know in the comments or in my socials!